Nov 14 2008
Some Better Sandblaster Pix
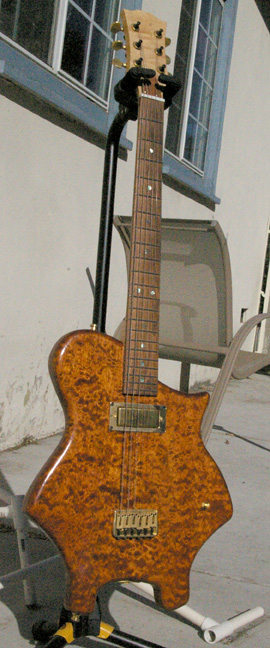
I was unhappy with the photos I took a while back of the completed Sandblaster guitar, so I gave it another go:

Nov 14 2008
I was unhappy with the photos I took a while back of the completed Sandblaster guitar, so I gave it another go:

Oct 01 2007
This first one is my favorite, so far:

This one is a bit of an homage to the Fender Telecaster logo:

Personally, I don’t think the 2nd one will fit nicely on the headstock. The first one would, though…
Jul 24 2007
As you may know, some years ago I undertook the rather ambitious task of creating a custom guitar. It was an educational experience, fraught with unique challenges but, ultimately, rewarding. A friend pointed out that I’d not recorded an example of its various sounds and whatnot, so I did.
I’m including three links here. The first is
In
I’m also including a very brief example of the
UPDATE:
A friend suggested that I add
After living with this first version for a while, I felt that a different reading of the words would work better. I also added some rather complex effects to the voice.
The result is
May 25 2007
It has been several years in the making but I’m pleased to announce that for all intents and purposes the guitar project is complete. Lots of people asked if I had a name for it and, after pondering for a while, came up with The Sandblaster! This was one of my nick names when I was a kid, and seemed to sound like a guitar (a la Telecaster). I hope to take better pix at some point, but this was the best I could muster right now:
Mar 19 2006
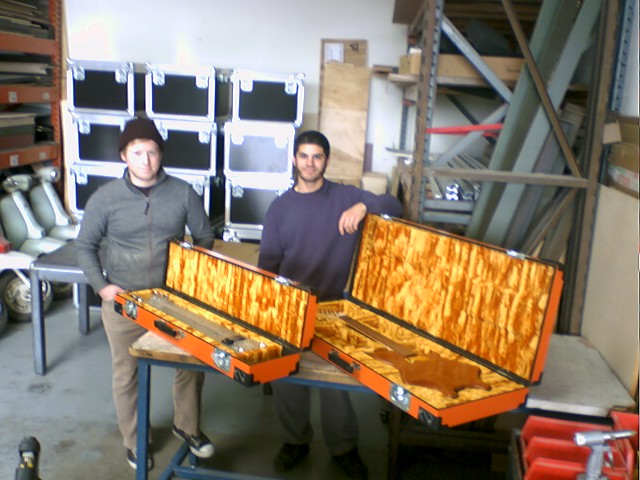
I got a custom case made for my new custom guitar, and decided to have a matching one made for my lap steel. The company that made them, Morris & Holmberg Cases in Santa Ana, did a pretty nice job. They used material I provided them, and painted it with a custom color. Sweet!

Feb 17 2006
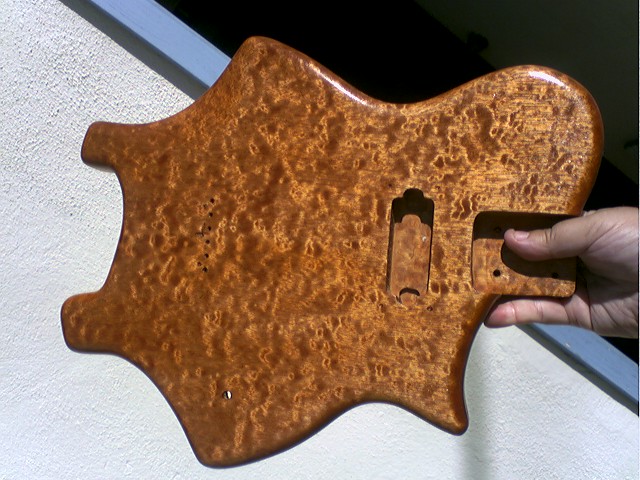
Here’s another pic of the guitar body. It has received several coats of boiled linseed oil, tung oil, and lacquer. Pretty!

Feb 01 2006
Well, after some patient prodding I finally reconnected with Randy, who did the last few bits of shaping. He rounded off the neck heel, and a few transitions on the curves leading into and away from it. This, of course, required me to completely disassemble the guitar. After he finished that last bit of shaping, I was able to start on the finishing process. The finishing process is one that requires patience. The first step is sanding, followed by sanding, then more sanding. After that, I applied several thinned coats of boiled linseed oil.
Here are some pix taken after the oil was applied.
Jan 01 2006
Here’s a somewhat boring
Dec 04 2005
Well, I’ve posted some more pix of the guitar project. The first set shows Randy Simon cutting out the body, and doing some work on it. It also shows the body after the edges had been rounded by a router, and the two top cut-outs shaped for ergonomic considerations. The last three pix depict some finish tests.
The second set shows the assembled guitar, the wood still unfinished, and a few details remaining to be addressed. The edges of the neck block (on the back of the body where the ferrules and screws are) needs to be rounded, and a small portion of the body leading to the neck pocket needs rounding also. The string ferrules are not installed, and will be pushed into their holes when finishing is complete.
I’ve had the guitar in this assembled form for a few weeks now and, aside from some very minor issues, I really love the way it feels and sounds.